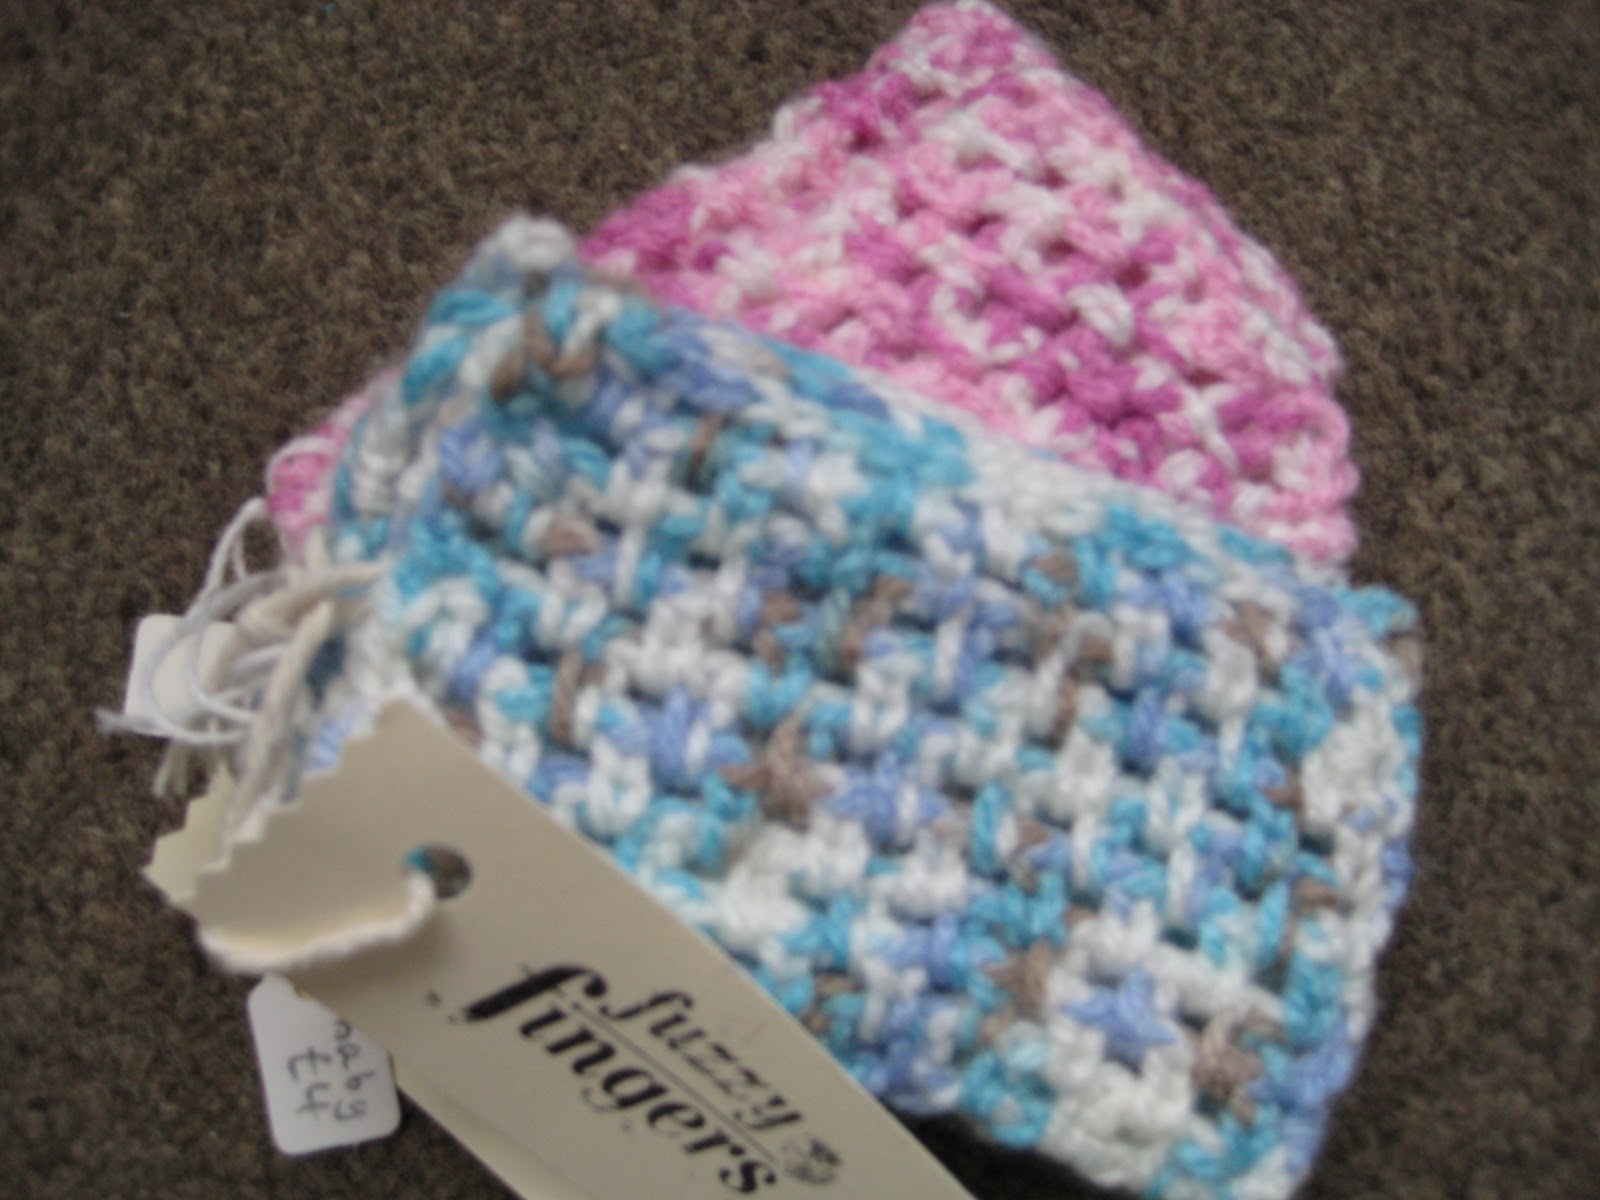
Now autumn and the cooler weather has definitely arrived and is making itself felt, I have found out my warm and cosy outer clothing. I love autumn, the rapidly changing colours of leaves, the last flourish of flowers and the nights drawing in - I don't however like feeling cold, particularly my hands and feet. When I'm outside, I always have on a pair of comfy and practical wrist or hand warmers.

These fingerless gauntlets are great as they are super cosy and warm yet amazingly practical as your fingers are not covered so are free to hold the steering wheel, school bags, dog leads, use your mobile, etc. With a slit for your thumb, they fit securely and snugly to keep you toasty. As someone who has dexterity and grip issues, I've found that simply keepng your wrists and the blood flow through this area warm, I don't suffer with the numbing sensation that being cold brings. In theory this reduces the amount of times I drop things, knock things over and breakages but remains to be proven in practise. Even my 5 year old calls me butter fingers at least once a day...

Continuing on from the from the two free hat patterns, I am spreading a little more crochet love and have designed two super simple wrist warmer patterns - perfect for beginners and experts alike. There is plenty of scope for customising your handhuggers so let your imagination and creativity loose. I always tend to make my handhuggers a little longer through the wrist section so as to cover a bit more wrist and this is so easy to do.
A simple pattern that gives instant gratification as they are a quick project with a simple pattern . Raid your yarn stash as they only use a small quantity of double knitting yarn. Lightweight and fairly stretchy they just feel so toasty - you can whip up a couple of sets. In fact I always have a pair in the 'glove' compartment (haha!) for those days when I forget to pick up a set or the weather changes while you're out...
 |
| Baby version |
In a multi size pattern, they're perfect for adults and even more practical for babies and children. I never was very good at steering tiny fingers into gloves so find that these are perfect. The little thumbhole means they stay on nice and securely and for those independent little ones, they can put them on themselves.
Enjoy the pattern and feedback gratefully received...
Handhugger pattern...
Using double
knitting yarn and a 5mm hook – gauge is really not that important.
UK crochet terms
used
Make 2
Ch 20 (30, 40)
Row 1:
dc in 2nd chain from hook, *ch 1, sk next st, dc in next ch*, rep to end, turn
Row 2: ch 1, dc in same st, * dc in ch-1 sp, sk next
st, ch 1*, rep to last ch-1 sp, dc in sp, dc in last st, turn
Row 3:
ch1, dc in same st, *ch 1, sk next st, dc in next st*, rep to end, turn
Continue and
repeat rows 2 and 3 until work measures 5.5, 7, 9 cm,
ending with a WS row.
Thumbhole row (RS):
ch 1, dc in same st, pattern next 8 (9, 11 ) sts, ch 4 (5, 7), continue in
pattern to end, turn.
Next row (WS):
ch 1, dc in same st, patt to thumbhole and resume pattern across thumbhole
chains and on to end, turn
Continue and
repeat rows 2 and 3 as before until work measures the same as first half (up to
thumbhole), ending with a WS row. DO NOT FASTEN OFF.
Seaming/Joining row:
Turn, ch 1, bring foundation row of mitt
up behind and slip stitch both edges together working through both
thicknesses. Take care to match stitches
and chain-1 spaces as you work along for a super neat finish.
Fasten off and
weave in ends.
Written pattern
copyright Aimie Bennett 2012. Please do not reprint or repost this pattern, but
please feel free to link to this page to share this pattern with others.
Please can I ask
that if you use this pattern to make hats for sale, then credit the original
pattern design to FuzzyFingers. Many thanks
and happy hooking!!
Like what you see but not crafty? I will gladly hook up a set for you. Get in touch via Facebook or email fuzzyfingers@btinternet.com.
Watch this space for another free pattern coming soon...